iOS YQAlert 弹出框 -- 个人库
最近使用swift 撸了一个弹出框, 可以高度自定义弹出框的内容, 样式和动画效果, 且可以使用同步弹出框, 支持
cocoapods引入
YQAlert
YQAlert git地址, 支持cocoapods
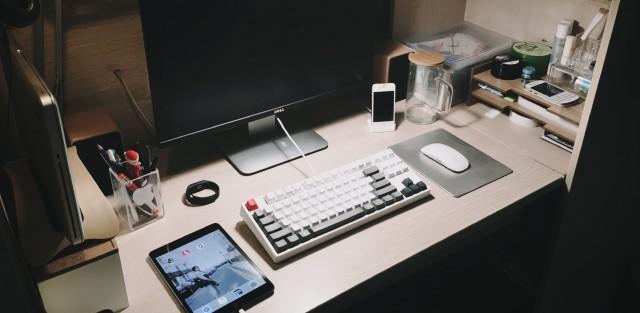
弹出框结构
| 标注 | 说明 |
|---|---|
| ① | 自定义头部视图 |
| ② | 标题和内容描述 |
| ③ | 自定义内容视图 |
| ④ | 操作按钮部分 |
介绍
本项目是使用 Swift 封装的弹出框。布局方式使用Auto Layout (VFL), 不依赖任何第三方布局框架, 方便快速集成
功能
- 支持统一定义项目中弹出框样式, 包括控件之间的间距, 控件的外观及标题和内容的属性设置
- 支持完全自定义标题上方的头部视图
- 支持完全自定义内容文字下方的内容视图
- 支持按钮的水平排列或者垂直排列
- 可以设置为同步弹出框
- 可以对操作按钮进行插入/删除/添加等操作
- 支持自定义弹出框的显示和消失的动画及动画执行时长
- 可设置背景虚化(毛玻璃效果)
要求
- iOS 9.0 +
- Xcode 8.3
- Swift 3.0
安装
CocoaPods
Swift3
确保使用最新版本cocoapods CocoaPods 1.2.1, 可以使用命令 sudo gem install cocoapods --pre 来升级.
target 'ProjectName' do
    use_frameworks!
    pod 'YQAlert'
end
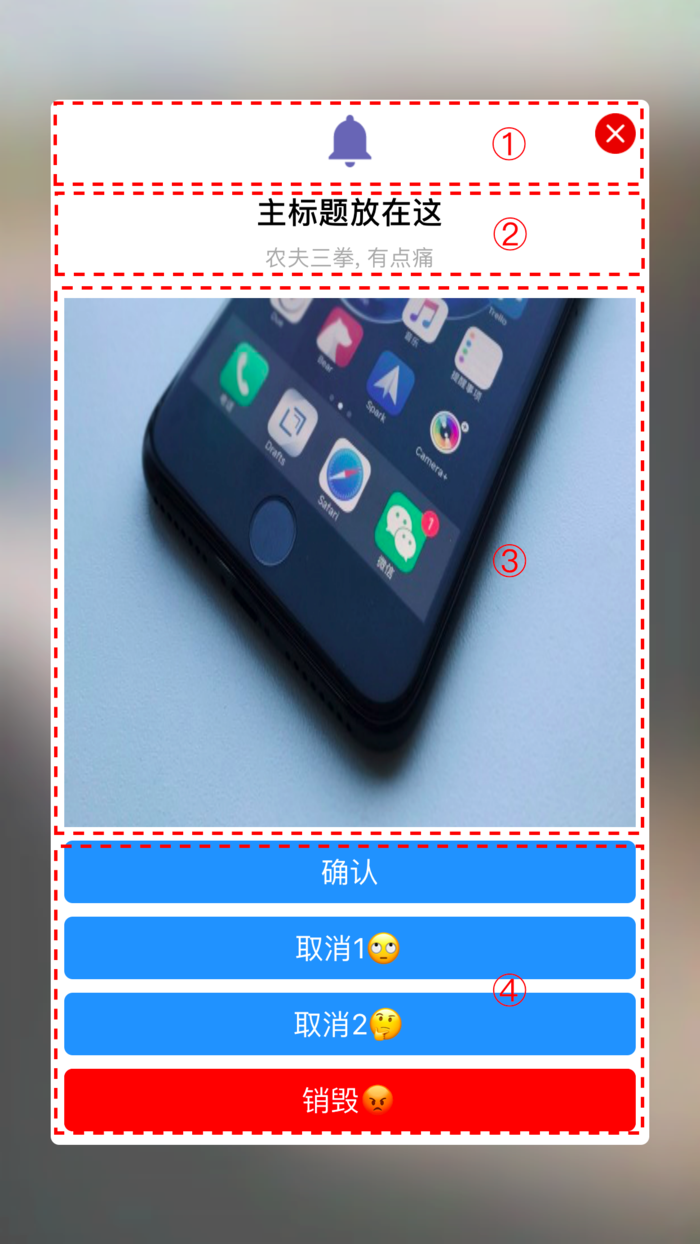
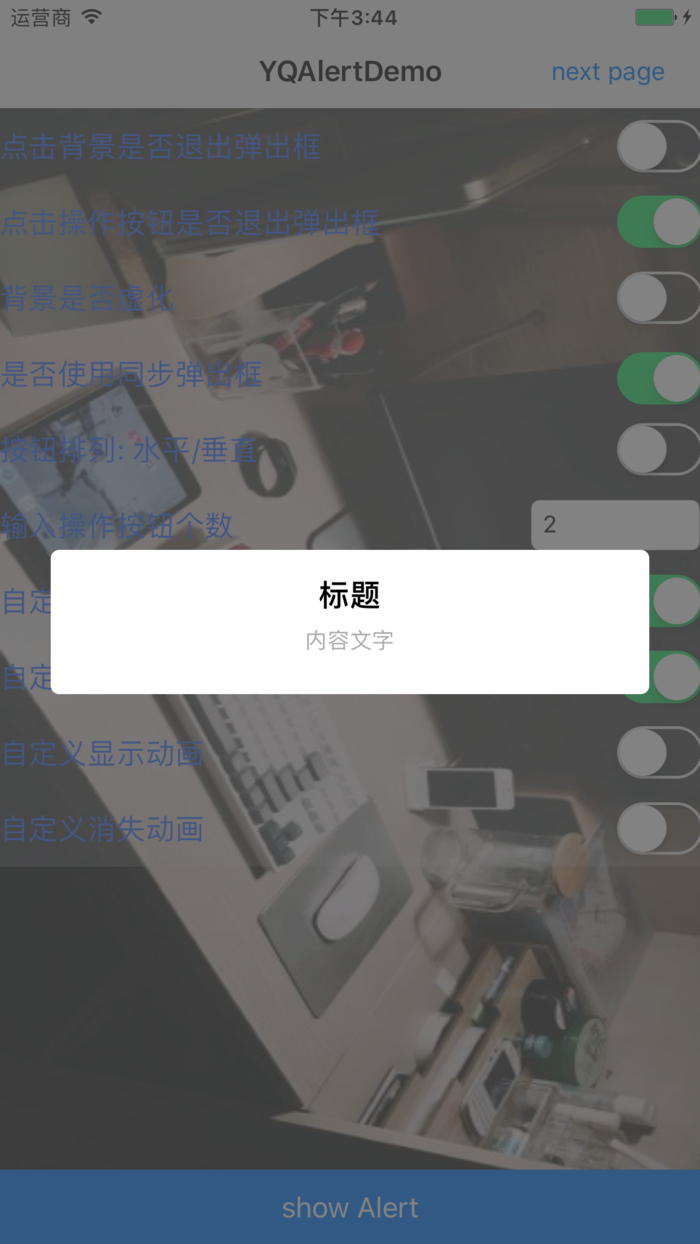
Demo
请下载Demo直接运行
Demo 预览
代码详解
全局配置
使用YQAlertConf配置整个项目中弹出框的样式
配置弹出框样式
// MARK:- 配置弹出框样式

    /// 弹出框的背景颜色
    open var backgroundColor = UIColor.white

    /// 弹出框的圆角
    open var cornerRadius: CGFloat = 5.0;

    /// 遮挡屏幕视图的背景颜色
    open var dimBackgroundColor = UIColor(white: 0.3, alpha: 0.7)

    /// 控件之间垂直间距
    open var verticalMargin = 8.0

    /// 水平距父视图的间距(不包含按钮之间水平间距)
    open var horizontalMargin: CGFloat = 8.0

    /// 弹出框距左边屏幕的间距
    open var alertToLeftScreenMargin = 30

    /// 弹出框距右边屏幕的间距
    open var alertToRightScreenMargin = 30
配置标题样式
// MARK:- 配置标题样式
    /// 标题字体
    open var titleFont = UIFont.boldSystemFont(ofSize: 18)

    /// 标题颜色
    open var titleColor = UIColor.black

    /// 标题的对齐方式
    open var titleAlignment: NSTextAlignment = .center

    /// 标题的行数
    open var titleNumberOfLines = 0
配置内容文字样式
// MARK:- 配置内容文字样式
    /// 内容文字字体
    open var detailFont = UIFont.systemFont(ofSize: 13)

    /// 内容文字颜色
    open var detailColor = UIColor.lightGray

    /// 内容文字的对齐方式
    open var detailAlignment: NSTextAlignment = .center

    /// 内容文字的行数
    open var detailNumberOfLines = 0
操作按钮的样式配置
普通按钮
// MARK:- 普通按钮
    open var buttonBorderWidth: CGFloat = 0.5
    open var buttonBorderColor = UIColor.clear
    open var buttonBackgroundColor = UIColor(hex: 0x3399fe)
    open var buttonTitleFont = UIFont.systemFont(ofSize: 17)
    open var buttonTitleColor = UIColor.white
取消按钮
// MARK:- 取消按钮 cancel
    open var cancelButtonBorderWidth: CGFloat = 0.5
    open var cancelButtonBorderColor = UIColor.clear
    open var cancelButtonBackgroundColor = UIColor(hex: 0x3399fe)
    open var cancelButtonTitleFont = UIFont.systemFont(ofSize: 17)
    open var cancelButtonTitleColor = UIColor.white
警示按钮
// MARK:- 警示按钮 destructive
    open var destructiveButtonBorderWidth: CGFloat = 0.5
    open var destructiveButtonBorderColor = UIColor.clear
    open var destructiveButtonBackgroundColor = UIColor.red
    open var destructiveButtonTitleFont = UIFont.systemFont(ofSize: 17)
    open var destructiveButtonTitleColor = UIColor.white
特有样式配置, 可以为每个弹出框设置的属性
外观样式相关属性配置
    /// 操作按钮水平排列:点击背景, 默认弹出框 `不消失`; 操作按钮垂直排列: 点击背景, 默认弹出框 `消失`
    open var isTapBackgroundToDismiss: Bool = false

    /// 是否执行同步弹出框: 默认不执行;  同步弹出框的说明
    open var isSyncAlert: Bool = false

    /// 点击操作按钮之后, 弹出框是否消失? 默认消失.
    open var isClickAlertButtonToDismiss: Bool = true
    /// 显示背景是否虚化处理; 默认不虚化
    open var visualEffectEnable: Bool = false
动画相关属性配置
/// 弹出框显示动画的执行时长
    open var showAnimationDuration = 0.25

    /// 弹出框消失动画的执行时长
    open var dismissAnimationDuration = 0.25

    /// 自定义弹出框显示动画
    open var showAnimation: ((_ alertView: UIView, _ animationDuration: Double) -> ())?

    /// 自定义弹出框消失动画
    open var dismissAnimation: ((_ alertView: UIView, _ animationDuration: Double) -> ())?
操作按钮间距配置
/// 按钮距左边和右边的边距, 默认左右给为30;
    open var buttonViewToLeftAndRightMargin: (left: CGFloat, right: CGFloat) = (30.0, 30.0)
/// 按钮和按钮之间的间距; 默认值为8
    open var alertButtonToButtonMargin: CGFloat?
基本用法
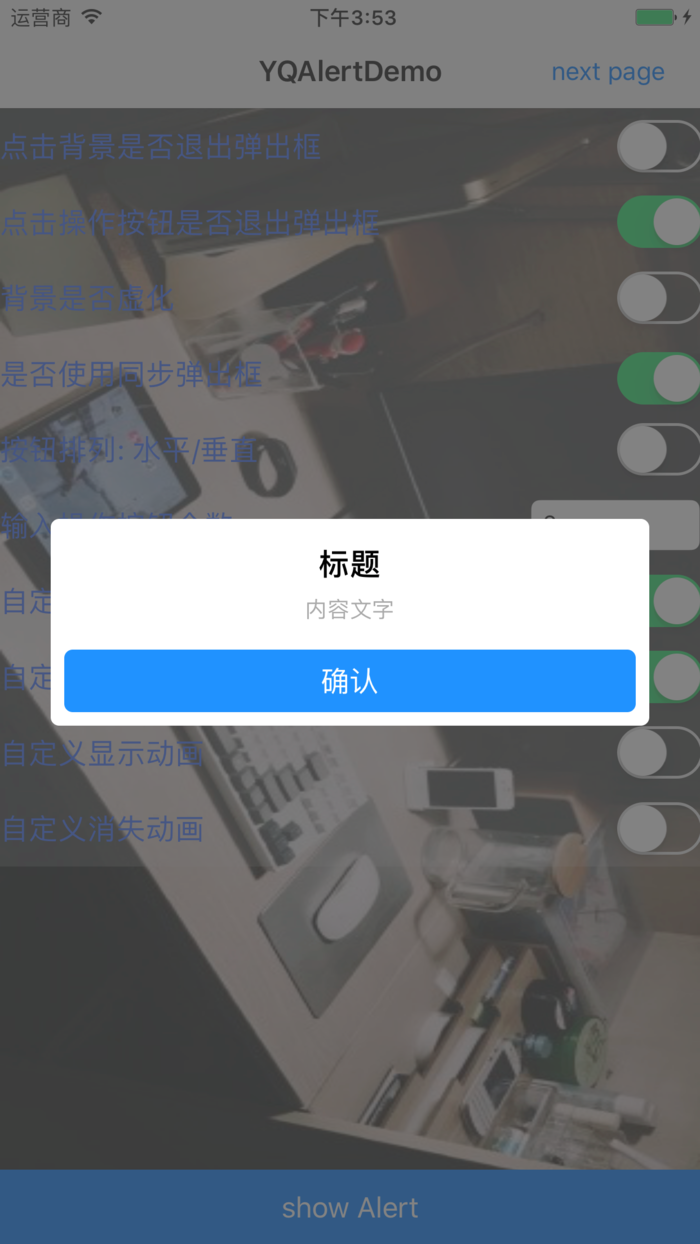
仅有标题和内容文字
let alertV = YQAlertNormalView(title: "标题", detail: "内容文字")
alertV.isTapBackgroundToDismiss = true
alertV.show()
创建一个按钮的弹出框, 使用闭包获取到按钮的点击回调; 默认按钮标题为确认, 也可以设置标题; 默认按钮类型为普通类型normal, 也可以设置按钮类型
let alertV = YQAlertNormalView(title: "标题", detail: "内容文字") { (button) in
            print(">>>>>>>>>>\(String(describing: button.titleLabel?.text))")
        }
alertV.buttonViewToLeftAndRightMargin = (8.0, 8.0)
alertV.show()
创建两个按钮的弹出框, 使用闭包获取到按钮的点击回调, 默认第一个按钮, 标题为取消, 按钮类型为cancel; 默认第二个按钮的标题为确认, 按钮类型为normal; 通过闭包获取到每个按钮的点击事件, 并且默认值也支持自定义
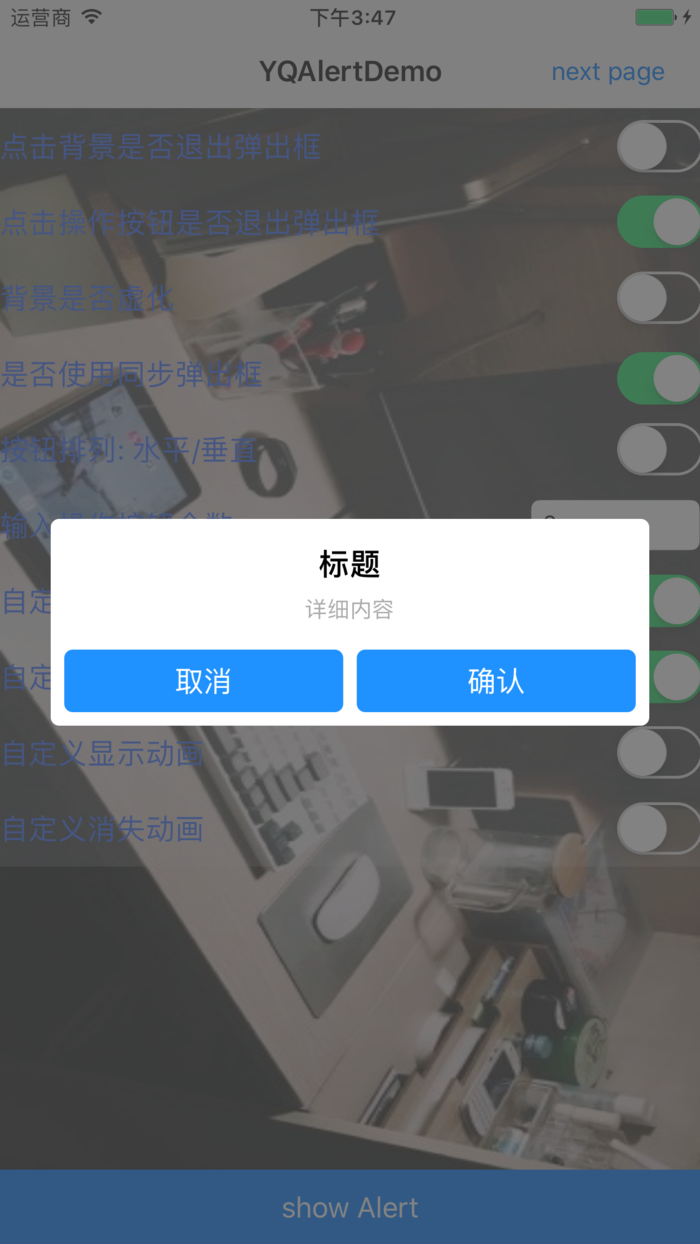
let alertV = YQAlertNormalView(title: "标题", detail: "详细内容", cancelHandle: { (button) in
            print(">>>>>>>>>>\(String(describing: button.titleLabel?.text))")
        }) { (button) in
            print(">>>>>>>>>>\(String(describing: button.titleLabel?.text))")
        }
alertV.buttonViewToLeftAndRightMargin = (8.0, 8.0)
alertV.show()
操作按钮的增加, 删除 和 插入
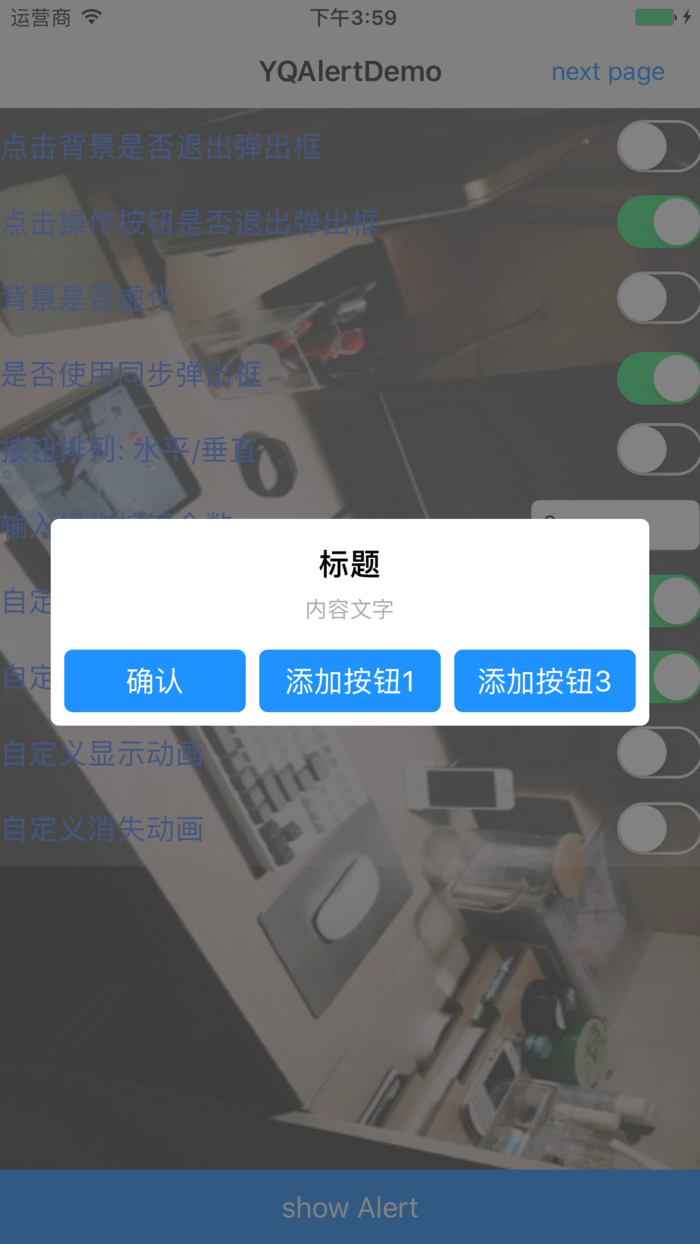
let alertV = YQAlertNormalView(title: "标题", detail: "内容文字") { (button) in
  print(">>>>>>>>>>\(String(describing: button.titleLabel?.text))")
}
let button1 = YQAlertButton(title: "添加按钮1", type: .cancel) { (button) in
  print(">>>>>>>>>>\(String(describing: button.titleLabel?.text))")
}

let button2 = YQAlertButton(title: "添加按钮2", type: .cancel) { (button) in
  print(">>>>>>>>>>\(String(describing: button.titleLabel?.text))")
}

let button3 = YQAlertButton(title: "添加按钮3", type: .cancel) { (button) in
  print(">>>>>>>>>>\(String(describing: button.titleLabel?.text))")
}

alertV.appendAlertButton(button2)
alertV.insertAlertButton(button1, at: 1)
alertV.appendAlertButton(button3)
alertV.removeAlertButton(2)

alertV.buttonViewToLeftAndRightMargin = (8.0, 8.0)
alertV.show()
自定义用法 (ps: 自定义的视图请使用 Auto Layout 布局)
自定义头视图
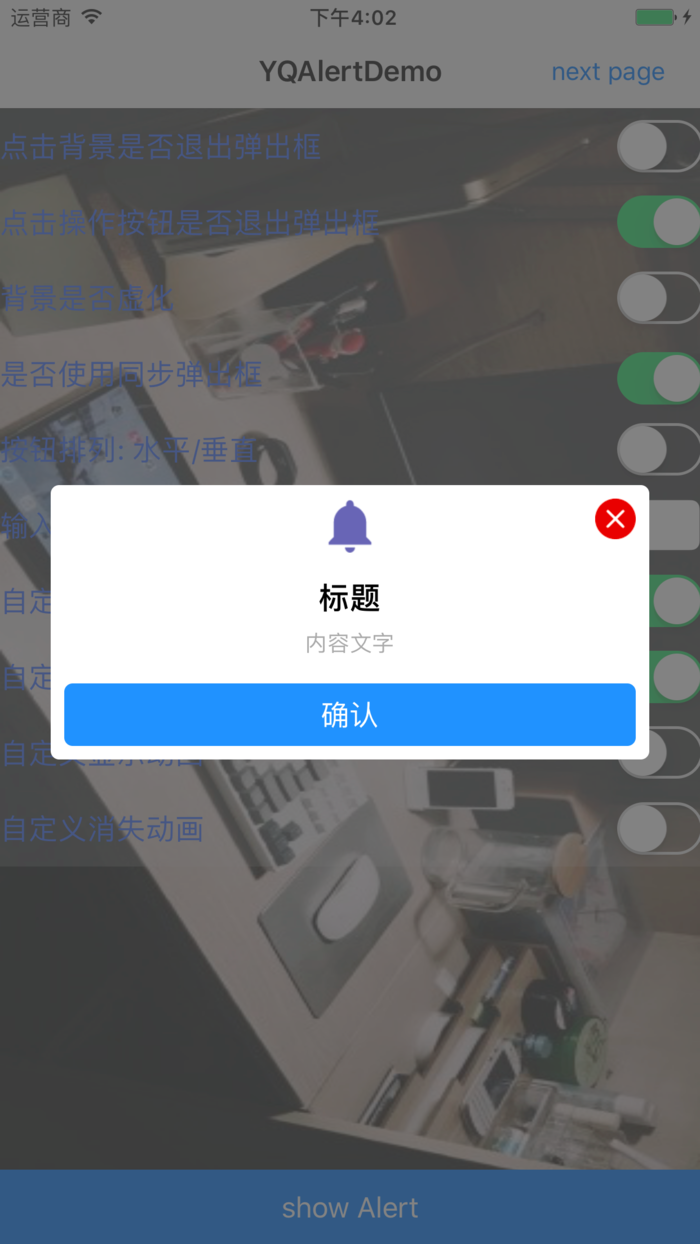
let alertV = YQAlertNormalView(title: "标题", detail: "内容文字") { (button) in
print(">>>>>>>>>>\(String(describing: button.titleLabel?.text))")
}

let customHeadView = UIView()
let checkImageV = UIImageView(image: #imageLiteral(resourceName: "close"))
checkImageV.translatesAutoresizingMaskIntoConstraints = false
checkImageV.isUserInteractionEnabled = true
checkImageV.addGestureRecognizer(UITapGestureRecognizer(target: self, action: #selector(clickButton)))
customHeadView.addSubview(checkImageV)
let topHeadC = NSLayoutConstraint(item: customHeadView, attribute: .top, relatedBy: .equal, toItem: checkImageV, attribute: .top, multiplier: 1.0, constant: 0)
let checkImageVRightC = NSLayoutConstraint(item: customHeadView, attribute: .right, relatedBy: .equal, toItem: checkImageV, attribute: .right, multiplier: 1.0, constant: 0)
customHeadView.addConstraints([topHeadC, checkImageVRightC])
let alertImageV = UIImageView(image: #imageLiteral(resourceName: "alert"))
alertImageV.translatesAutoresizingMaskIntoConstraints = false
customHeadView.addSubview(alertImageV)
let alertImageVTopC = NSLayoutConstraint(item: customHeadView, attribute: .top, relatedBy: .equal, toItem: alertImageV, attribute: .top, multiplier: 1.0, constant: 0)
let alertImageVBottomC = NSLayoutConstraint(item: customHeadView, attribute: .bottom, relatedBy: .equal, toItem: alertImageV, attribute: .bottom, multiplier: 1.0, constant: 0)
let alertImageVCenterX = NSLayoutConstraint(item: customHeadView, attribute: .centerX, relatedBy: .equal, toItem: alertImageV, attribute: .centerX, multiplier: 1.0, constant: 0)
customHeadView.addConstraints([alertImageVTopC, alertImageVBottomC, alertImageVCenterX])
alertV.addHeadView(headView: customHeadView)

alertV.buttonViewToLeftAndRightMargin = (8.0, 8.0)
alertV.show()
自定义内容视图
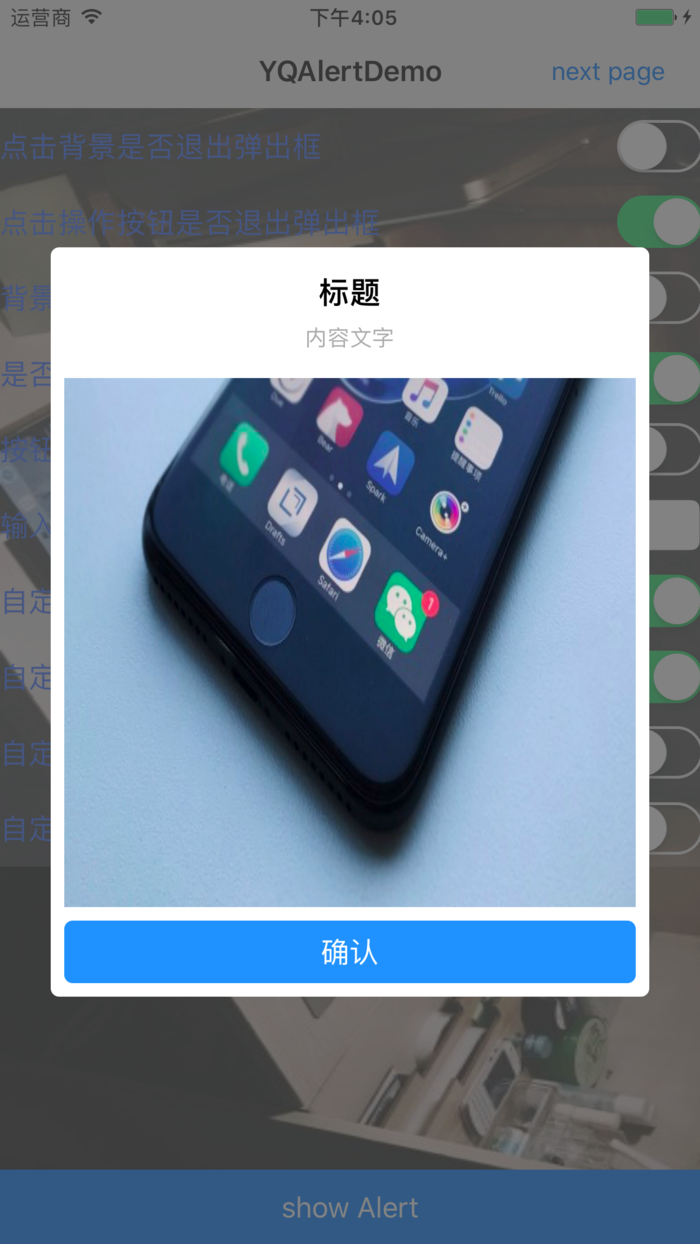
let alertV = YQAlertNormalView(title: "标题", detail: "内容文字") { (button) in
  print(">>>>>>>>>>\(String(describing: button.titleLabel?.text))")
}

let customContentView = UIView()
let imageV = UIImageView(image: UIImage(named: "test2.jpg"))
imageV.translatesAutoresizingMaskIntoConstraints = false
customContentView.addSubview(imageV)
let topC = NSLayoutConstraint(item: customContentView, attribute: .top, relatedBy: .equal, toItem: imageV, attribute: .top, multiplier: 1.0, constant: 0)
let bottomC = NSLayoutConstraint(item: customContentView, attribute: .bottom, relatedBy: .equal, toItem: imageV, attribute: .bottom, multiplier: 1.0, constant: 0)

let leftC = NSLayoutConstraint(item: customContentView, attribute: .left, relatedBy: .equal, toItem: imageV, attribute: .left, multiplier: 1.0, constant: 0)
let rightC = NSLayoutConstraint(item: customContentView, attribute: .right, relatedBy: .equal, toItem: imageV, attribute: .right, multiplier: 1.0, constant: 0)
customContentView.addConstraints([topC, bottomC, leftC, rightC])
alertV.addContentView(content: customContentView)

alertV.buttonViewToLeftAndRightMargin = (8.0, 8.0)
alertV.show()
联系我:
- 博客: http://www.jianshu.com/u/b34eb8288906
- 邮箱: yq1054572107@gmail.com
贡献者
欢迎提交 issue 和 PR,大门永远向所有人敞开。
License
YQAlert is available under the MIT license. See the LICENSE file for more info.
Git 地址
YQAlert 支持cocoapods